Graveyard Keeper 2 Base Setup Guide: Factory Basics
Learn the best Graveyard Keeper 2 base setup with zombie power, conveyor belts, and starter factory layouts to automate kits and weekly supplies fast.
Setting up your base in Graveyard Keeper 2 can feel overwhelming the moment you unlock the underground factory. There's no sandbox mode to experiment in, power is limited, and every single conveyor belt segment eats into your gear energy. A smart Graveyard Keeper 2 base setup, however, is what separates players who spend hours hauling resources by hand from those who let their zombie workforce do the heavy lifting. This guide walks you through the essentials: zombie allocation, power management, starter automation targets, and the semi-automated tricks the community has already refined.
Why Your Base Setup Matters More Than You Think
Graveyard Keeper 2's factory operates on a tight economy of zombies and cog power. Each zombie running a carousel generates 7 power (10 with the "Belt Master" axe perk), while every conveyor belt block consumes 1 power. A single vegetable supply chain can burn 27 or more power, according to player reports on the game's Steam Community forums.
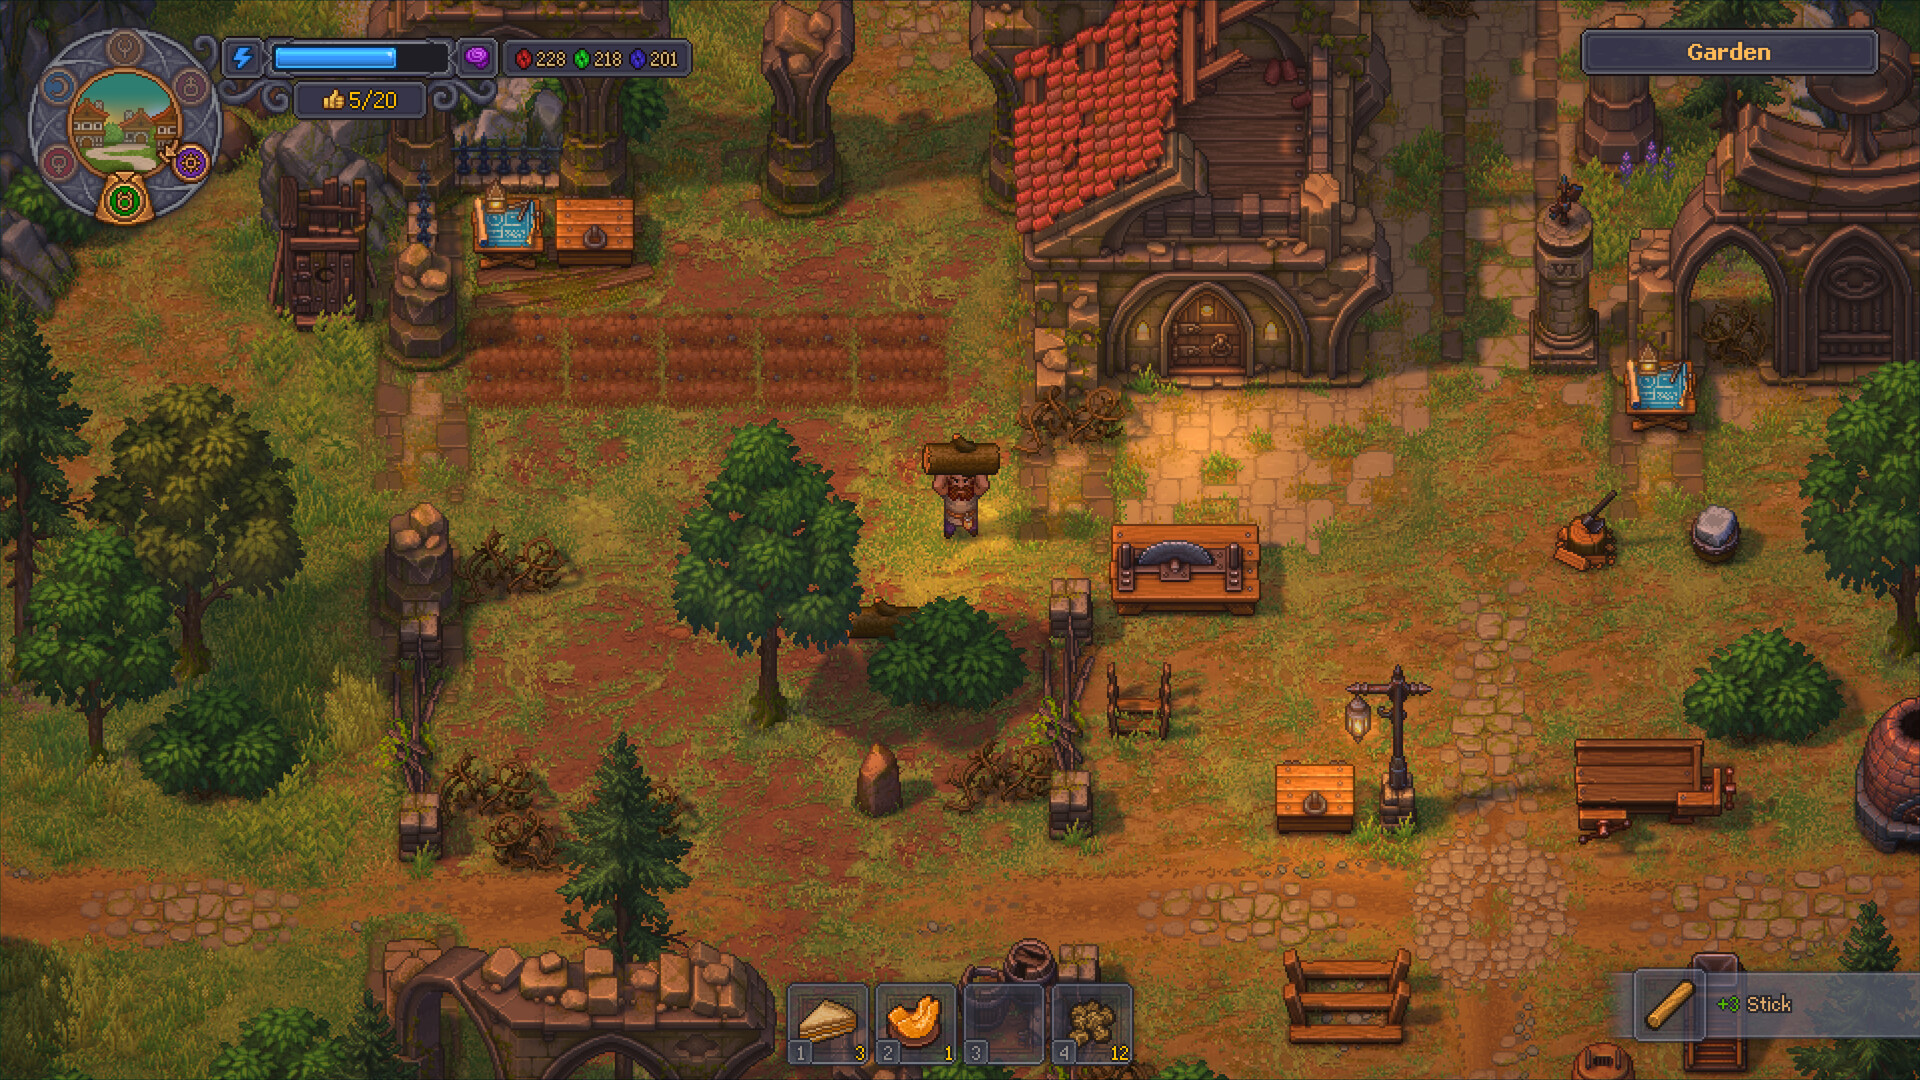
Official screenshot · Source: Steam store
That means a sprawling, belt-heavy base will grind to a halt long before you unlock steel-tier zombie caps. Planning your Graveyard Keeper 2 base setup around short belts, strategic chest buffers, and high-value recipes is the difference between a factory that pays for itself and one that drains your workforce for marginal gains.
The good news: deconstructing factory components refunds 100% of materials, so experimentation underground is essentially free. Surface buildings, per community reports, don't always return full resources — so plan those placements more carefully.
Zombie Allocation: Your Most Important Resource
You'll want zombies for four distinct job categories. Community consensus puts a comfortable mid-game headcount around 40–54 zombies, though you can get meaningful automation going with far fewer.
| Job Type | Recommended Count | Notes |
|---|---|---|
| Power generation (carousel) | 3–8 | Stat doesn't matter; weakest zombies are fine |
| Resource gathering | 4–6 | Stone, wood, iron, marble in priority order |
| Assembly stations | 2–4 | One zombie per active assembler |
| Porters/suppliers | 2–4 | Deliveries to supply stations and merchant quests |
A highly upvoted community breakdown suggests an efficient opening: automate stone gathering and stone kits, plus wood gathering and wooden kits with the autohammer upgrade. That full loop takes roughly 8 zombies — 5 for gathering and 3 for power and two assembly benches — and eliminates the need to craft fat-consuming manual recipes early.
Priority Order for New Zombies
- Stone gathering
- Stone kit assembly bench
- Wood gathering
- Wood kit assembly bench (with autohammer upgrade)
- Iron gathering
- Marble gathering
- Sculpture kit 1
- Tier 2 kits (factory-exclusive recipes)
Sand and clay are deliberately low priority — one manual trip fills a chest that lasts most of the game.
Understanding Power and Conveyor Belts
The core design quirk of Graveyard Keeper 2 is that belts, not stations, are your primary power drain. Each assembly bench needs a bare minimum of 2 power: 1 for the input belt you place yourself, and 1 for the output belt that builds automatically.
| Setup | Power Cost | Zombies Needed |
|---|---|---|
| 1 carousel zombie | 7 power (10 with perk) | 1 |
| Basic assembly bench (in + out) | 2 power | 0 (already powered) |
| Underground conveyor (long distance) | Lower than surface belts | 0 |
| Full veggie supply chain | ~27 power | Several |
Two practical tips from player experience:
- Use underground conveyors for distance. They cover long stretches without eating one power per tile like surface belts. Multiple players flag this as the single best efficiency trick in the current build.
- Chests are your buffer. You can't prefill an assembler, but you can prefill a chest feeding one. Place cheap chests at both input and output ends and queue production — the bench will show zero resources until the belt starts moving, which is normal.
Starter Automation Targets: What to Build First
Don't try to automate everything. The community consensus is that semi-manual production is roughly three times faster to get running than full automation, and full automation only pays off once your zombie count and power pool mature.
| Target | Why Automate It | Difficulty |
|---|---|---|
| Stone kits | Trivial recipe, feeds building kits, no upgrades needed | Easy |
| Wooden kits (autohammer) | Recipe collapses to 1 log per kit | Easy |
| Cloth supply package | One assembler fulfills both weekly orders (~50 rep/week) | Easy |
| Marble kits | Needed later for sculpture and town rebuild | Medium |
| Tier 2 kits | Factory-exclusive, complex materials | Hard |
| Iron/furniture kits | Recipe is trivial manually — skip automation early | Skip for now |
For stone and wooden kits, connect the assembly bench directly to the resource storage with one input belt, and let the auto-created output belt dump into a cheap chest. Both recipes also sidestep fat production, which requires basement or tower infrastructure you won't have early.
Don't forget to manually assign an order at each bench — zombies won't produce anything automatically just because materials arrive, a common stumbling block for new keepers.
Semi-Automation: The Smart Middle Ground
Here's the trick veteran players swear by for tier 2 kits and complex recipes: place an assembly bench wherever it's convenient (close to your walking paths), then connect two chests with a single conveyor belt. Manually stock the input chest with prerequisites, and the bench produces continuously with minimal power cost.
This approach works especially well because kit supplies don't require crate delivery — everything can live in chests. For preserved goods, where jars come from the bottom of the factory map and vegetables sit at the top-left, players report simply crafting crates near the source and carrying them up once a week rather than building a map-spanning belt line.
| Approach | Setup Time | Power Use | Best For |
|---|---|---|---|
| Full automation | High | High | Weekly supply quests, kits you need forever |
| Semi-automation (chest-fed bench) | Low | Very low | Tier 2 kits, occasional complex crafts |
| Manual crafting | None | None | Iron kits, bricks, one-off items |
If you follow this semi-automated philosophy, rushing the "Engineer" line on your cog perks pays dividends across everything you still craft by hand.
Layout Planning and Common Mistakes
A few structural realities of the factory map should shape your Graveyard Keeper 2 base setup from day one:
- Resources spawn at the bottom of the map, while vegetable storage sits at the top-left — plan for this awkward split rather than fighting it.
- Gear cap is currently 200, so commit to specific kit lines rather than trying to build individual stations for everything. Coal, for instance, gets contested by three different recipes.
- Use supply chests instead of belt splitters when a resource needs to feed three destinations.
- Watch for double-porter bugs near stone and marble, where a shared porter can jam with one resource type. Disabling the competing resource or manually emptying the porter fixes it.
- Queue production before walking away. Even with everything wired correctly, nothing happens until orders are assigned.
Finally, remember that graveyard and workshop efficiency still matters on the surface — the original game's community spent years optimizing layouts there, and the same planning mindset applies here. When in doubt underground, build boldly: the 100% refund policy means a bad layout costs you nothing but a few clicks.
FAQ
How many zombies do I need for a working factory in Graveyard Keeper 2? You can run a productive starter setup with as few as 8 zombies — 5 gathering wood and stone, and 3 handling power and assembly benches. Comfortable full automation typically requires 40+ zombies, and dedicated optimizers report using 54 or more.
Do conveyor belts cost power in Graveyard Keeper 2? Yes. Every belt segment consumes 1 cog power, making belt length your main efficiency lever. Underground conveyors cover long distances more cheaply, and each carousel zombie generates 7 power (10 with the Belt Master perk).
What should I automate first? Stone kits and wooden kits via the autohammer upgrade. Both simplify painful manual recipes, connect directly to their resource sources, and can run off a single power zombie with two benches.
Is full automation worth it in Graveyard Keeper 2? Eventually, but not immediately. Community experience suggests semi-manual production gets you results three times faster early on. Save full automation for weekly supply quests and factory-exclusive tier 2 kits once your zombie workforce and power pool can support it.
Related Guides
Graveyard Keeper 2 Beginner Guide: Essential Starter Tips
Use this Graveyard Keeper 2 beginner guide to manage stamina, gather resources, unlock skills, clear your base, and efficiently complete opening quests.
Graveyard Keeper 2 Farming Guide: Automate Your Crops
Use this Graveyard Keeper 2 farming guide to build garden beds, assign equipped zombies, apply permanent fertilizer, and efficiently manage crop storage.
Graveyard Keeper 2 Gameplay Guide: Tips for New Keepers
A complete Graveyard Keeper 2 gameplay guide covering graveyard management, zombie automation, Town defense, and early-game progression tips.
Graveyard Keeper 2 Guide: 20 Essential Early-Game Tips
Use this Graveyard Keeper 2 guide to manage energy, corpses, storage, crafting, zombies, and perks while building a much more efficient early-game routine.